.jpg)

Battle at Nile Crossing
System: Warhammer Ancient Battles 2.0
Army Size: 1500 points
Deployment Type: Pitch Battle
Victory Condition: Army Break Point
Special Rules:
Fight to the End: The Slaver’s army rely on the mercenary units for inspiration. In turn the mercenaries knew that this is a fight to death and no mercy will be granted from the Imperials. The Slaver’s List army will not break as long as the Nubian Knights and Duelists are on the battlefield.
Vital Objectives (from Sporecon WHFB 2011): There are four objectives on the battlefield as shown in the map below. A unit controls an objective by being the only unit on/in it. Seizing the objectives will give the following VP point rewards
Oasis – 300 VP
Bridge – 300 VP
Armory – 500 VP
Granary – 300 VP

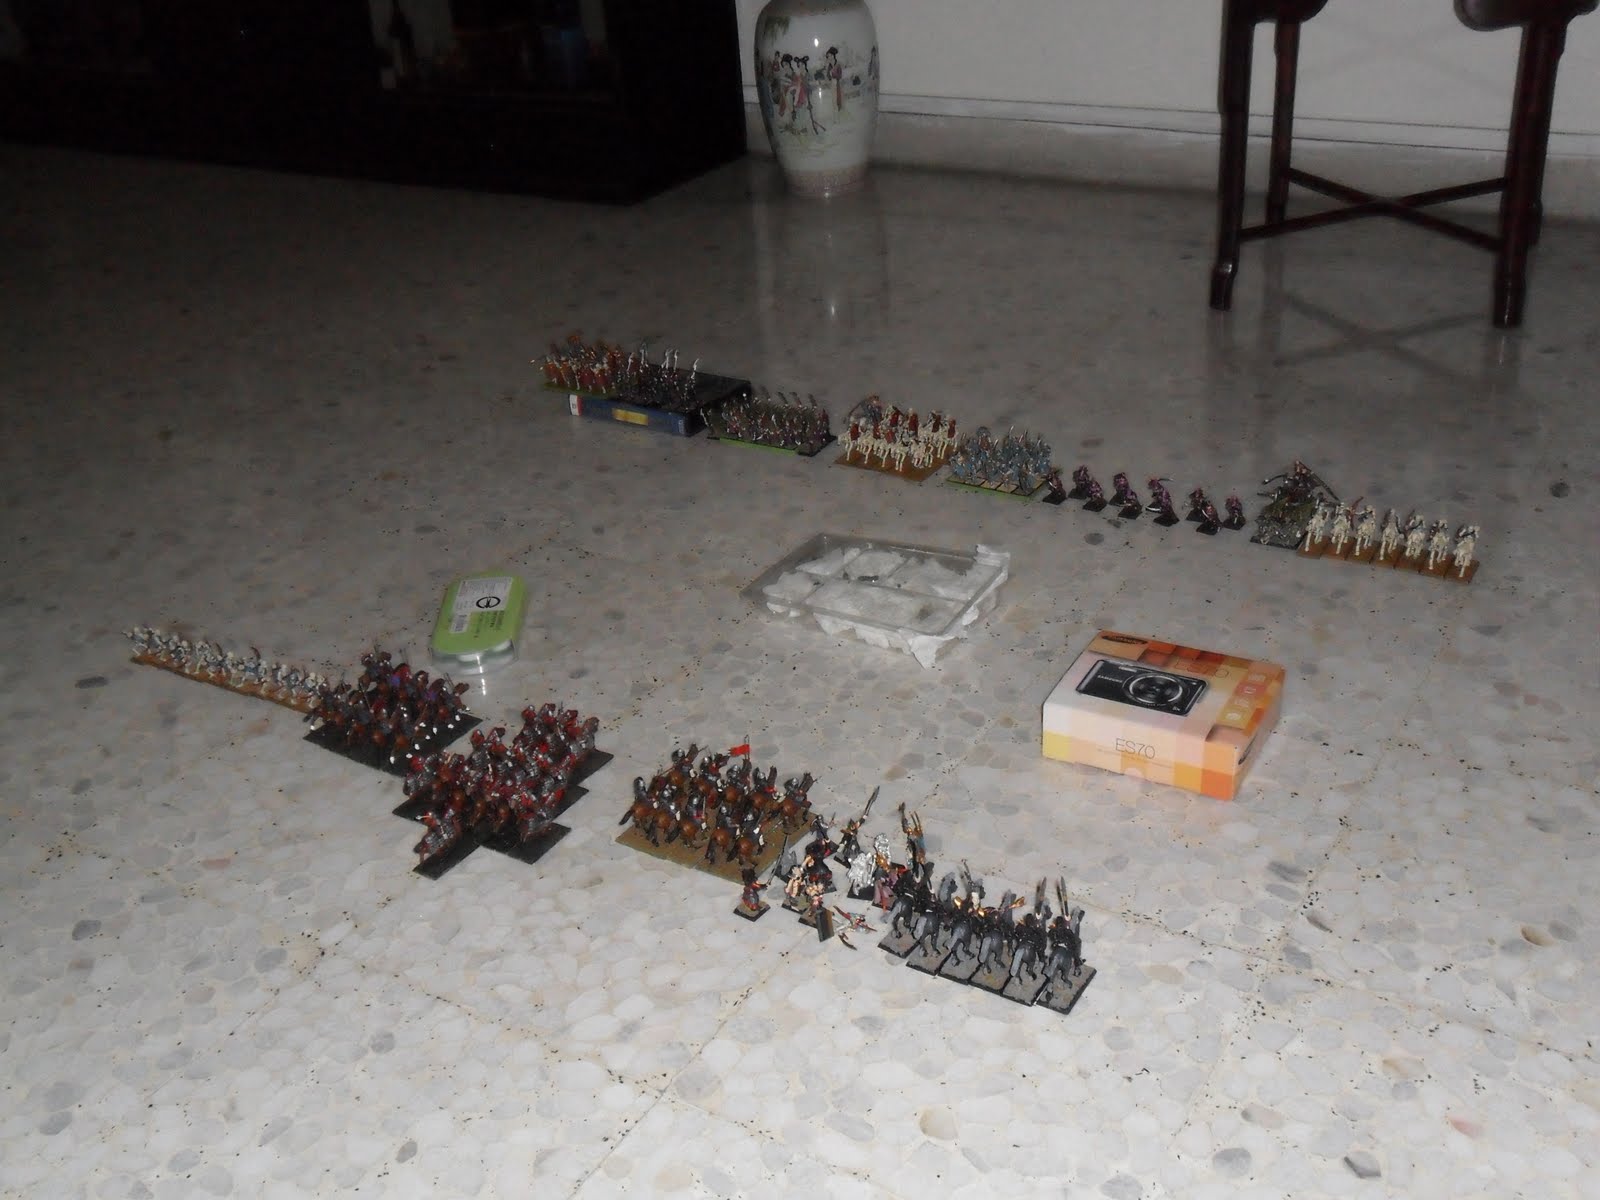
Armies deployed


Imperials Turn 1
The first turn began with the Balkan Cavalry failing their mercenaries and allies test. The peltast quickly move behind the armory objective, ready to charge the duelist If they attempt to move closer. The Cataphracts move forward while the Latinkoi advance to block the gap between the armory and the granary. The Kavallarioi courageously advance to seize the bridge, ready to charge into any of the Slaver units in the following turn. Shooting phase. The Cataphract Archers failed to wound the Nubian Knights but the longbowmen killed 2 Dark Elven Executioners.
Slaver’s Turn 1
Most of the units advanced slightly into better position. The Moorish warband reform to better seize the oasis next turn while the executioners left that terrain piece. The Moorish swordsmen advance all the way to the armory, ready to seize it the next turn. The Berber cavalry move and fire at the Balkan Cavalry, all missed at the distance. The duelist did what they did best and walk point blank into the Latinkoi and fire. Only two Norman knights fell into the dust…oops….
End of turn 1

Imperials Turn 2
The Latinkoi seize the moment and charge the duelists who swiftly fled 11 inches. The Peltast seize the armory objective, daring the Moorish swordsmen to charge them. The Cataphracts readjust themselves and fired at the Nubian knights again to no avail. The Kavallarioi did not charge (haha trick you Slavers) while the longbowmen use the chance to shoot the executioners, killing one. The Balkan Cavalry fire at the Berbers to no avail.
Slaver’s Turn 2
The duelist rallied. The Dark elf chariot passed its panic test and charged the Latinkoi who fled. The Moorish swordsmen accept the challenge and charge into the armory. The Rebel right advanced, forcing the Imperials to make a charge or be charge decision in the next turn. The Berbers fired at the Balkan Cavalry but the latter saved the wound.
In the close combat phase, the Moorish swordsmen caused one wound and receive none. They win combat and seize the armory from the Imperials who fled.
Imperials Turn 3
Those fleeing units all rallied. The Byzantine units take up the challenge and charge. The Cataphract rush into the Nubian Knights who countercharge while due to clipping, the Kavallarioi charges both Executioners and Corsairs.
Imperial Turn 3 just after movement phase.


In the shooting phase, the longbowmen fire into the armory and killed 2 Moorish swordsmen while the Balkan Cavalry killed 1 Berber. The Byzantine Kavallarioi moved to be no match to the Dark Elves, losing 4 while killing only 2 corsairs. They held barely. In the Cataphract vs Nubian Knights fight, it seems to be about mass S4 attacks (from heavy mace) vs s5 from lances. But it turn out to be about armor saves, the Nubians lost 1 while the Cataphracts passed all, including one from a sword of power (Wah Fantasy weapon in historical game). Nevertheless, the knights passed with a double 1.
Slaver’s Turn 3
The Moorish Swordsmen charge out of the armory into the Peltast hoping the wipe out their foe for good. The DE chariot charged the Latinkoi who fled again. The duelist began a long walk to the granary objective. The Berbers return the favor to the Balkan Cavalry, killing one by shooting. In close combat, the Dark Elven foot continued to massacre the Kavallarioi, killing another 3 while the Kavallarioi cut two corsairs down. The Kavallarioi were down to 3 models, thus they autobreak. The Corsairs did not purse and they do not want to engage the Cataphracts. In the fight between the Peltast and the Moorish Swordsmen, the peltasts still break despite killing more of the enemy. Nevertheless, they outrun their pursuers. In the fight between the two heavy cavalry units, both sides lost 1 model, the Cataphracts won by 1 but the Nubians passed again.
The big fight at the end of turn 3

Imperials Turn 4.
The Peltast give up, failed to rally and fled off the board. The Balkan Cavalry maneuver to the left to assist their allies there…the Imperials are running out of units. Meanwhile the longbowmen killed another Executioner. The Capahracts finally defeated their foes, killing 3 and suffered no casualties. The Nubians fled but got away.
Slaver’s Turn 4
The Slavers go for the kill. The Dark Elven Executioners and Corsairs marched onwards straight toward the Imperial deployment zone, determined to swept the bridge and wipe out the longbowmen. The Berbers rushed into the Byzantine’s right which is now empty. The swordsmen reformed to face the longbowmen while the Chariot charge the Latinkoi again who counter charge. The duelist did their thing – move and fire their pistols at the cataphracts who passed all their saves. The Nubian Cavalry rally. The DE hero on chariot killed 3 Latinkoi, who hold at the skin of their teeth.
Imperials Turn 5.
The Cataphracts charge the Nubian Knights, lose 1 but managed to defeat and break them (The Knights have 3 models left including the general). The longbowmen shoot and killed 2 executioners who passed their panic test. The Balkan Cavalry flank charge the Moorish swordsmen. Despite losing by 2, the swordsmen held. In the desperate battle between the Latinkoi and the DE chariot, a series of saves meant that the Latinkoi only took 1 wound and WON combat (close order + banner versus 1 casualty). The chariot broke and was chased down. The Latinkoi soon found itself rushing into the Slaver’s half of the battlefield again. To make things worse for the Slavers, there are many units around the chariot when it broke and it turn out that these were low leadership units. The Moorish swordsmen panicked and were chased down by the Balkan Cavalry while the Berbers fled towards the table edge. In addition, the defeat of the Nubian general meant all units have to take a panic test. Both the Moorish warband and the Duelists fled towards the table edge. As of end of the Imperial turn 5, only the dark elves were holding their ground on the battlefield (yeah for professionalism).
Slaver’s Turn 5
Both the Moorish warband and the Duelist fled off the table. The Berbers rally. The Slavers are now in trouble of hitting the army break point. The Corsairs seize the bridge while the Executioners charged the longbowmen. Losing two to shooting, the Executioners passed their panic test and cut down three longbowmen with no losses. The longbowmen were professionals too though (Ld 7) and passed their break test.

Imperials Turn 6
The Cataphracts re-entered the battlefield and rushed towards the center where the corsairs were. Meanwhile the Latinkoi and Balkan try to encircle the Corsairs.
A very sparse battlefield. This shows the battlefield as of the end of the Imperial turn 6 movement phase with the Cataphracts reentering the table. The Imperials will attempt to destroy the Slavers block by block.

In the close combat phase, the executioners killed 3 and lost none in return, they broke the longbowmen but failed to catch them.
Slaver’s Turn 6
It is a desperate turn. The Executioners charge the longbowmen off the battlefield. The corsairs reformed to better face the incoming cataphract charge. The Berbers ran point blank to the Latinkoi and shoot. If they can cause a wound, the Latinkoi will autobreak due to low numbers and thus causing 2 breakpoints to the Byzantine. 2 wounds were caused but both 3+ saves were passed.
Imperials Turn 7
The Cataphracts march on, ready to deal the killing blow to the corsairs. But this turn out to be unnecessary. The Balkan cavalry did the same trick that the Berbers attempted. 5 shots at the Executioners, 1 wound and a failed save. The executioners panic due to low numbers and the Slavers hit their army break point. Victory to the Imperial forces at last.


The Slavers were finally broken and its remnants surrendered. Dropping their arms and pledging their lives to the cause of the government, even the rebellious duelist who resist for so long had finally submit. With the rebellion subdued and its army incorporated to the Imperial forces, the government now has in its hands an experienced veteran force and will soon send it to crush the Emperor’s enemies.
And so it is. This battle is all about armor saves with the Imperials winning just by virtue of saving against the magical weapon attacks of the slaver heroes, which in turn allow the imperials to broke both slaver characters and causing panic across the battlefield. Shooting was minimal this time and even the duelist did not achieve much. I actually brought forward this battle because I wanted to do something else for my birthday. And I want this battle done before I sell my tomb kings. Therefore this will be my last WAB battle for a long time. Mostly because I am getting rid of most of the minis (assuming successful) and thus a battle, even using proxies, will not be possible for quite a long time. Let’s see how things go.
Army Size: 1500 points
Deployment Type: Pitch Battle
Victory Condition: Army Break Point
Special Rules:
Fight to the End: The Slaver’s army rely on the mercenary units for inspiration. In turn the mercenaries knew that this is a fight to death and no mercy will be granted from the Imperials. The Slaver’s List army will not break as long as the Nubian Knights and Duelists are on the battlefield.
Vital Objectives (from Sporecon WHFB 2011): There are four objectives on the battlefield as shown in the map below. A unit controls an objective by being the only unit on/in it. Seizing the objectives will give the following VP point rewards
Oasis – 300 VP
Bridge – 300 VP
Armory – 500 VP
Granary – 300 VP

Armies deployed

Imperials Turn 1
The first turn began with the Balkan Cavalry failing their mercenaries and allies test. The peltast quickly move behind the armory objective, ready to charge the duelist If they attempt to move closer. The Cataphracts move forward while the Latinkoi advance to block the gap between the armory and the granary. The Kavallarioi courageously advance to seize the bridge, ready to charge into any of the Slaver units in the following turn. Shooting phase. The Cataphract Archers failed to wound the Nubian Knights but the longbowmen killed 2 Dark Elven Executioners.
Slaver’s Turn 1
Most of the units advanced slightly into better position. The Moorish warband reform to better seize the oasis next turn while the executioners left that terrain piece. The Moorish swordsmen advance all the way to the armory, ready to seize it the next turn. The Berber cavalry move and fire at the Balkan Cavalry, all missed at the distance. The duelist did what they did best and walk point blank into the Latinkoi and fire. Only two Norman knights fell into the dust…oops….
End of turn 1

Imperials Turn 2
The Latinkoi seize the moment and charge the duelists who swiftly fled 11 inches. The Peltast seize the armory objective, daring the Moorish swordsmen to charge them. The Cataphracts readjust themselves and fired at the Nubian knights again to no avail. The Kavallarioi did not charge (haha trick you Slavers) while the longbowmen use the chance to shoot the executioners, killing one. The Balkan Cavalry fire at the Berbers to no avail.
Slaver’s Turn 2
The duelist rallied. The Dark elf chariot passed its panic test and charged the Latinkoi who fled. The Moorish swordsmen accept the challenge and charge into the armory. The Rebel right advanced, forcing the Imperials to make a charge or be charge decision in the next turn. The Berbers fired at the Balkan Cavalry but the latter saved the wound.
In the close combat phase, the Moorish swordsmen caused one wound and receive none. They win combat and seize the armory from the Imperials who fled.
Imperials Turn 3
Those fleeing units all rallied. The Byzantine units take up the challenge and charge. The Cataphract rush into the Nubian Knights who countercharge while due to clipping, the Kavallarioi charges both Executioners and Corsairs.
Imperial Turn 3 just after movement phase.


In the shooting phase, the longbowmen fire into the armory and killed 2 Moorish swordsmen while the Balkan Cavalry killed 1 Berber. The Byzantine Kavallarioi moved to be no match to the Dark Elves, losing 4 while killing only 2 corsairs. They held barely. In the Cataphract vs Nubian Knights fight, it seems to be about mass S4 attacks (from heavy mace) vs s5 from lances. But it turn out to be about armor saves, the Nubians lost 1 while the Cataphracts passed all, including one from a sword of power (Wah Fantasy weapon in historical game). Nevertheless, the knights passed with a double 1.
Slaver’s Turn 3
The Moorish Swordsmen charge out of the armory into the Peltast hoping the wipe out their foe for good. The DE chariot charged the Latinkoi who fled again. The duelist began a long walk to the granary objective. The Berbers return the favor to the Balkan Cavalry, killing one by shooting. In close combat, the Dark Elven foot continued to massacre the Kavallarioi, killing another 3 while the Kavallarioi cut two corsairs down. The Kavallarioi were down to 3 models, thus they autobreak. The Corsairs did not purse and they do not want to engage the Cataphracts. In the fight between the Peltast and the Moorish Swordsmen, the peltasts still break despite killing more of the enemy. Nevertheless, they outrun their pursuers. In the fight between the two heavy cavalry units, both sides lost 1 model, the Cataphracts won by 1 but the Nubians passed again.
The big fight at the end of turn 3

Imperials Turn 4.
The Peltast give up, failed to rally and fled off the board. The Balkan Cavalry maneuver to the left to assist their allies there…the Imperials are running out of units. Meanwhile the longbowmen killed another Executioner. The Capahracts finally defeated their foes, killing 3 and suffered no casualties. The Nubians fled but got away.
Slaver’s Turn 4
The Slavers go for the kill. The Dark Elven Executioners and Corsairs marched onwards straight toward the Imperial deployment zone, determined to swept the bridge and wipe out the longbowmen. The Berbers rushed into the Byzantine’s right which is now empty. The swordsmen reformed to face the longbowmen while the Chariot charge the Latinkoi again who counter charge. The duelist did their thing – move and fire their pistols at the cataphracts who passed all their saves. The Nubian Cavalry rally. The DE hero on chariot killed 3 Latinkoi, who hold at the skin of their teeth.
Imperials Turn 5.
The Cataphracts charge the Nubian Knights, lose 1 but managed to defeat and break them (The Knights have 3 models left including the general). The longbowmen shoot and killed 2 executioners who passed their panic test. The Balkan Cavalry flank charge the Moorish swordsmen. Despite losing by 2, the swordsmen held. In the desperate battle between the Latinkoi and the DE chariot, a series of saves meant that the Latinkoi only took 1 wound and WON combat (close order + banner versus 1 casualty). The chariot broke and was chased down. The Latinkoi soon found itself rushing into the Slaver’s half of the battlefield again. To make things worse for the Slavers, there are many units around the chariot when it broke and it turn out that these were low leadership units. The Moorish swordsmen panicked and were chased down by the Balkan Cavalry while the Berbers fled towards the table edge. In addition, the defeat of the Nubian general meant all units have to take a panic test. Both the Moorish warband and the Duelists fled towards the table edge. As of end of the Imperial turn 5, only the dark elves were holding their ground on the battlefield (yeah for professionalism).
Slaver’s Turn 5
Both the Moorish warband and the Duelist fled off the table. The Berbers rally. The Slavers are now in trouble of hitting the army break point. The Corsairs seize the bridge while the Executioners charged the longbowmen. Losing two to shooting, the Executioners passed their panic test and cut down three longbowmen with no losses. The longbowmen were professionals too though (Ld 7) and passed their break test.

Imperials Turn 6
The Cataphracts re-entered the battlefield and rushed towards the center where the corsairs were. Meanwhile the Latinkoi and Balkan try to encircle the Corsairs.
A very sparse battlefield. This shows the battlefield as of the end of the Imperial turn 6 movement phase with the Cataphracts reentering the table. The Imperials will attempt to destroy the Slavers block by block.

In the close combat phase, the executioners killed 3 and lost none in return, they broke the longbowmen but failed to catch them.
Slaver’s Turn 6
It is a desperate turn. The Executioners charge the longbowmen off the battlefield. The corsairs reformed to better face the incoming cataphract charge. The Berbers ran point blank to the Latinkoi and shoot. If they can cause a wound, the Latinkoi will autobreak due to low numbers and thus causing 2 breakpoints to the Byzantine. 2 wounds were caused but both 3+ saves were passed.
Imperials Turn 7
The Cataphracts march on, ready to deal the killing blow to the corsairs. But this turn out to be unnecessary. The Balkan cavalry did the same trick that the Berbers attempted. 5 shots at the Executioners, 1 wound and a failed save. The executioners panic due to low numbers and the Slavers hit their army break point. Victory to the Imperial forces at last.


The Slavers were finally broken and its remnants surrendered. Dropping their arms and pledging their lives to the cause of the government, even the rebellious duelist who resist for so long had finally submit. With the rebellion subdued and its army incorporated to the Imperial forces, the government now has in its hands an experienced veteran force and will soon send it to crush the Emperor’s enemies.
And so it is. This battle is all about armor saves with the Imperials winning just by virtue of saving against the magical weapon attacks of the slaver heroes, which in turn allow the imperials to broke both slaver characters and causing panic across the battlefield. Shooting was minimal this time and even the duelist did not achieve much. I actually brought forward this battle because I wanted to do something else for my birthday. And I want this battle done before I sell my tomb kings. Therefore this will be my last WAB battle for a long time. Mostly because I am getting rid of most of the minis (assuming successful) and thus a battle, even using proxies, will not be possible for quite a long time. Let’s see how things go.
posted by Vern | 9:15 AM
![]()
0 Comments:
Post a Comment
Subscribe to Post Comments [Atom]
<< Home